Creating business cards can be an overwhelming task, even if you are creative! If you’re not, it can feel like an even more daunting task. I say this to say, it’s okay if it seems like just another thing to learn or do, but that’s why I wrote this post. In this post, I’m going to cover where you can design your cards (with templates!), how to design them, and how to make this process much simpler and fun.
Let’s dive in!
- Step 1: How to plan what info will go on your card
- Step 2: Which platform you want to design them on
- Step 3: How to get started in the designing process
- Step 4: How to download your files and order them!
How to Make Business Cards in Canva
Step 1:
Planning the Business Card Design (aka Wireframes)
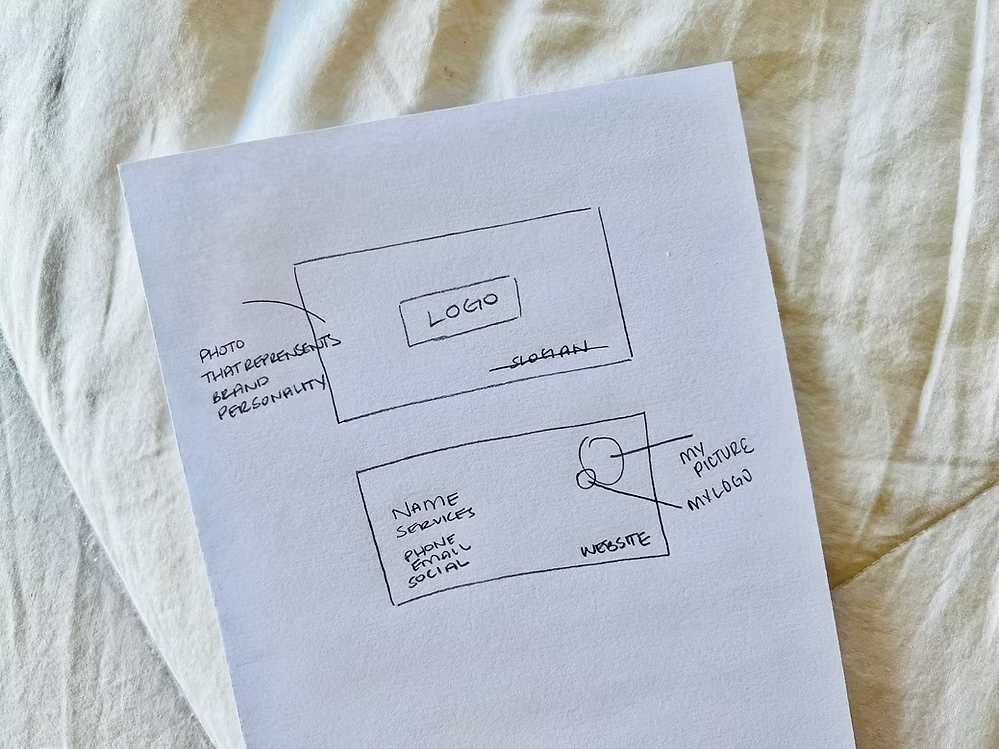
Getting started can sometimes feel like the most overwhelming task. If you’re thinking, where do I start? You’re going to love this first step! We’re going to start with the basics. Grab a pencil and a piece of copy paper. I personally like a completely blank canvas, but if you’re less creative or very detail oriented, grab a piece of notebook paper to keep your lines straighter. *Avoid using a ruler, as this first step doesn’t need to be perfect. This is just to get your ideas out. Think about who you’re going to be handing these to and what information you want them to have when you hand them your card. Before you sketch the business card, list out all the information you want on your card.
- Business Name/Logo
- Phone Number
- Slogan
- *Bonus points for adding a picture of yourself!
Business cards get thrown away, but I’ve found when a business card has a photo of the business owner I tend to remember that business much more! I won’t bore you with my obsession of psychology and why we remember faces more, but I know you get the point 😉
Here’s an example of my business card sketch:
Step 2:
Choose a Platform to Design Them In
So you’ve got your sketch, now it’s time to put that into action! *If you skipped step one and just want to use a business card template we’ll cover that as well. I personally use Canva to design my business cards. I’ve designed business cards with Illustrator, but I always go back to Canva because they have so many incredible templates and ideas to pull from. Plus, if you’re not in the design industry, Canva is a much better investment.
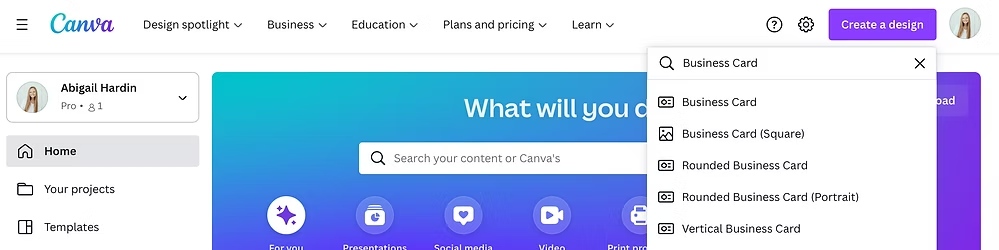
Once you create your Canva account, click “Create a Design” then search “Business Cards”. You’ll get a few different options as to sizing, but for the sake of this blog post we’re going to keep it simple and click “Business Card”.
Once you click, “Business Card” this is the screen that will come up:
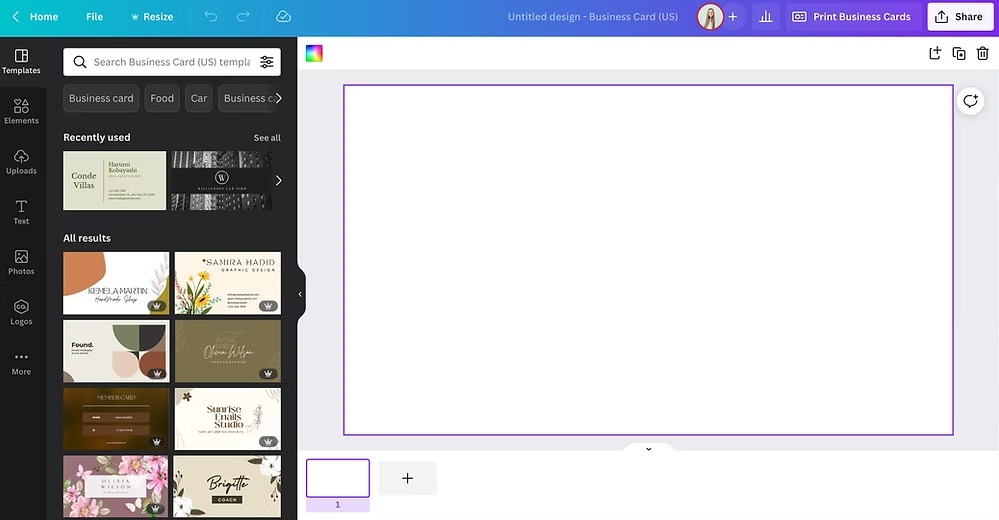
You can browse through their templates on the left if you want to avoid designing it yourself. If you click one, you’ll see that template display on the right. I would highly suggest swapping out the colors for your brand colors, swapping fonts to match yours, and adding your unique logo. This will ensure that your business card is unique to you and your business. Canva Pro does come with a lot more font options. If you don’t have Canva yet, but you want to test it out before you pay, click or tap on this link to get their Pro version for free for your first 30 days!
Step 3:
Start the Design Process
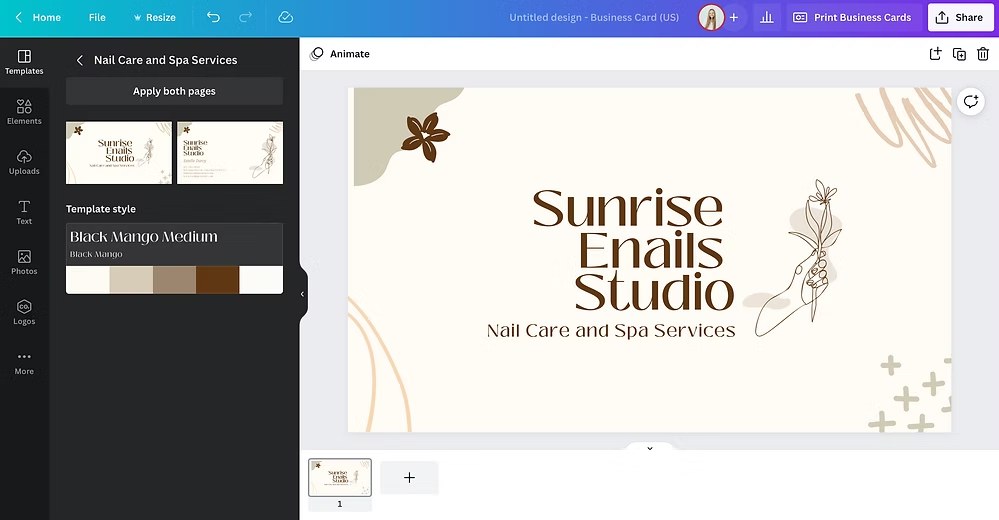
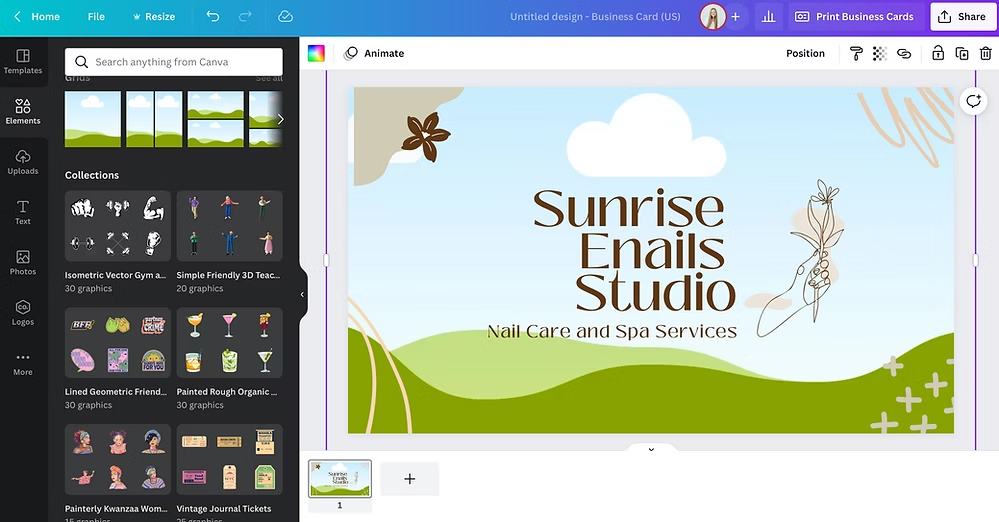
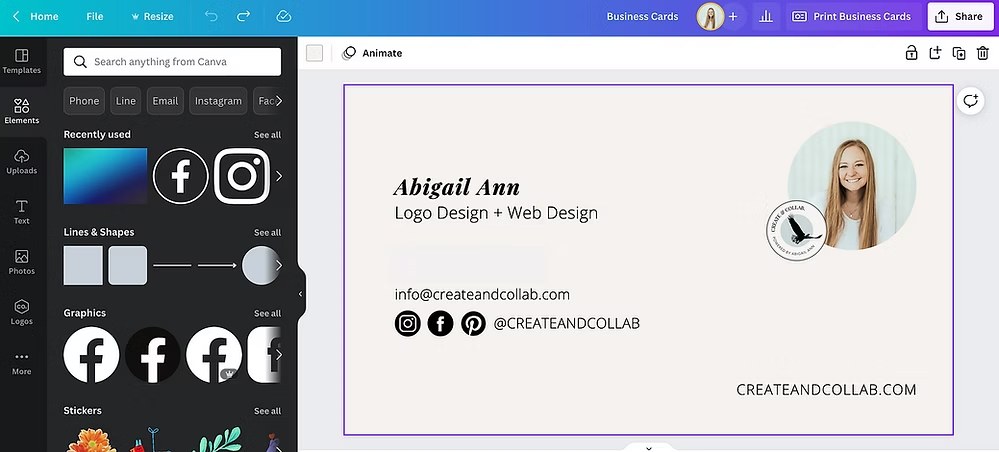
Browse through the templates on the left until you find one that seems like it could be a good fit. Then simply click on the template you like. Some have a front and back option, if they do, it will open both options and you can choose which you want to use. I chose a template that seems close to the sketch I originally came up with.
If you know you want a photo for the background, simply click the background space and click the “trash” icon. This will get rid of the background. Once you delete the background, click “Elements” and find the “Grid” options. Select the full square button:
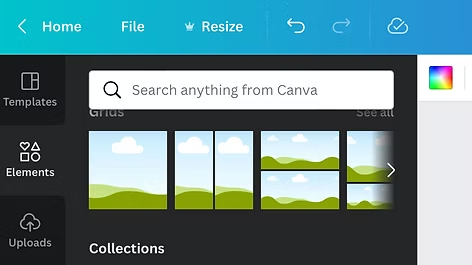
After you click the square grid, it will fill the template on the left so that you can add your own image.
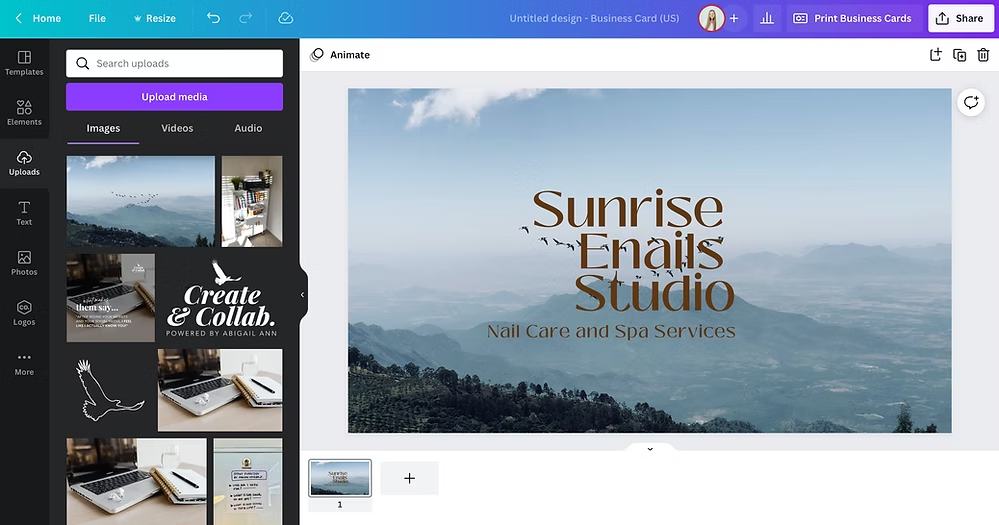
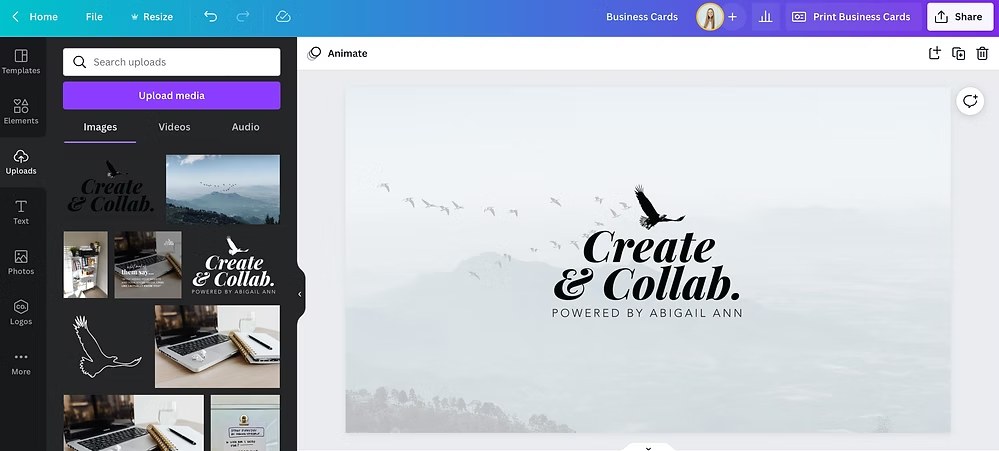
After you’ve placed the section to add a photo, you’ll want to click “Uploads” then “Upload Media” to upload a photo from your computer. If you don’t have an image and want to search for one, click the “Photos” option. This will allow you to search for a professional photo to use. Canva Pro gives you access to so many beautiful photos to use! Once you’ve chosen your image or uploaded your own, simply click the image that was uploaded and it will display over your template like this:
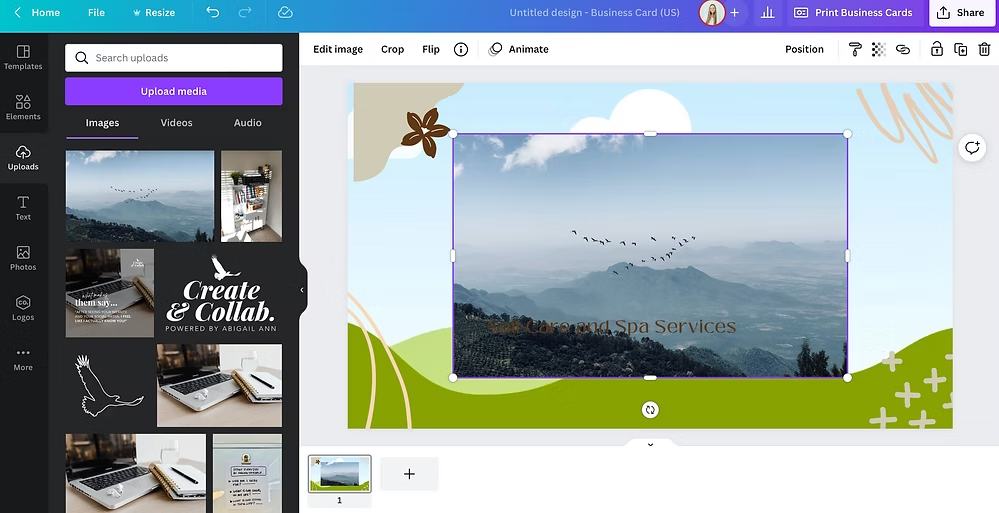
Obviously, we want this photo to fill the background and not just float over the top. To do that, simple click the photo and drag it around the template. Once the image element and photo link up, it will automatically make it the background like this:
I know for sure I’m not going to want the other elements that are included in this template, so I’ll just click each item one and a time and delete them.
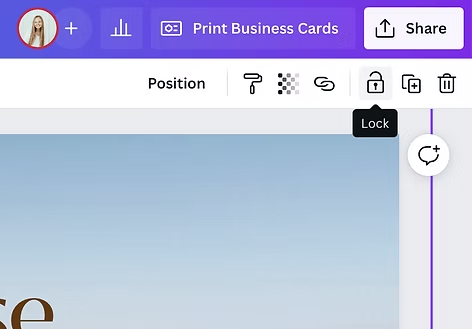
The next step is changing the text to your business name and your branded font. I personally have my logo file saved to my computer, so instead of typing in the business name I’m simply going to upload my transparent png logo file to Canva. Once that’s uploaded, I’ll delete the text. IMPORTANT: Before you drag over your logo file over like you did with the background image, you’ll want to click the background image first and select the “Lock” icon. If you skip this step, it’s going to replace your background image with the logo file and will look super funky.
Once you’ve locked the background in place, simply click the logo file you uploaded and place it where you want it on the business card. Once it’s in place, you can unlock the background file.
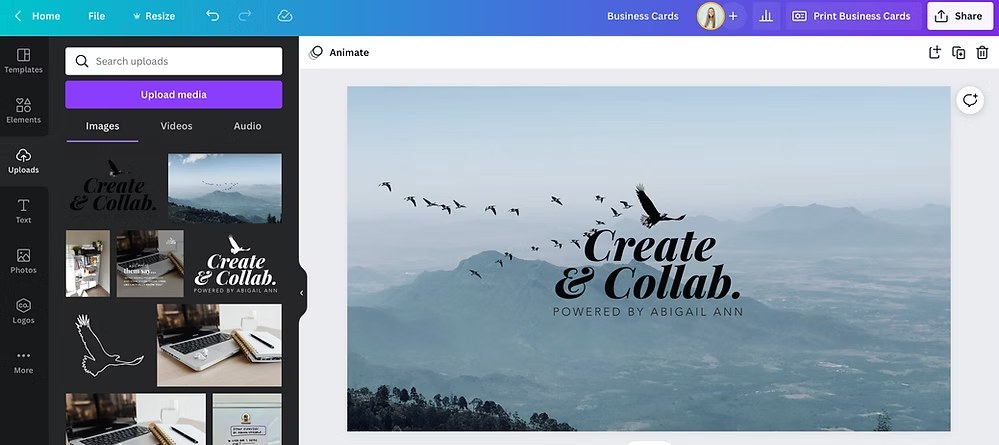
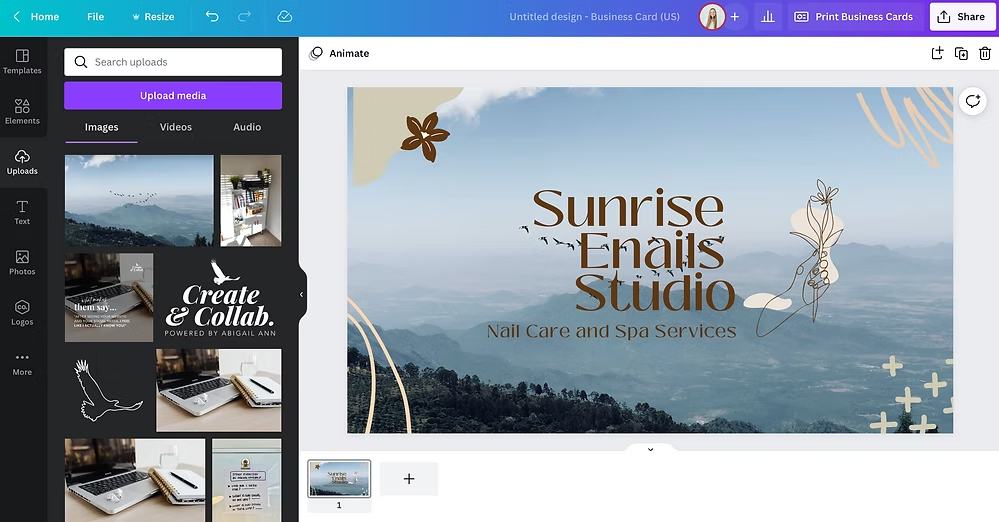
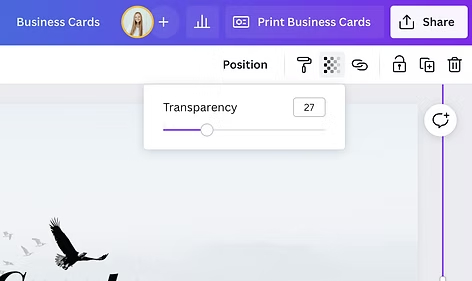
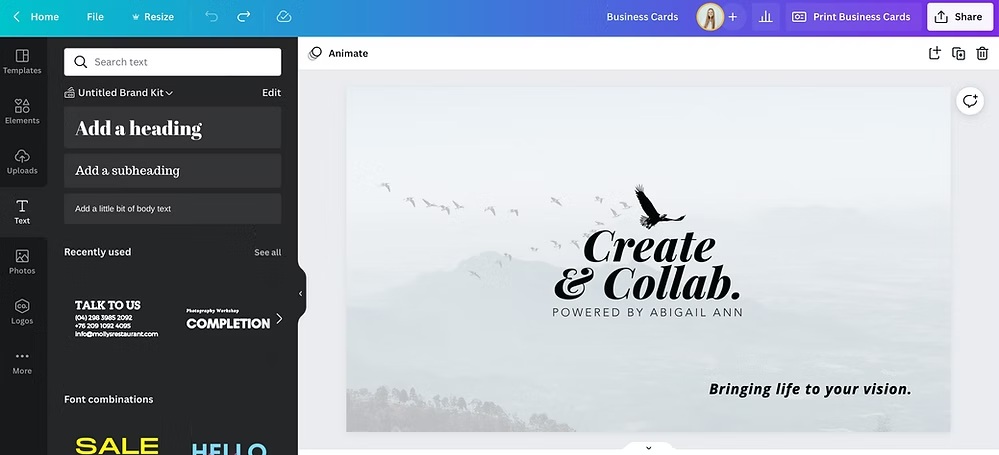
As you can see, the background and the photo are clashing just a bit. I love the photo, but I don’t want the logo and the background photo to seem like they’re competing against each other. To make the photo lighter, I used the opacity tool to make the image more transparent. This allows the white background we started with to show through more. That way the main focus is the logo! (Note: If you want the image to be darker, you’ll need to change the background from white to another color or black. You can also change the sizing of the photo. I ended up making the background image a little bigger so that the flying birds don’t seem to be running into my logo. See below.)
Now we’re making some progress! From my sketch, I know I want my slogan on the front in the bottom right corner. To add text, simply click the “Text” option, and select the “Add a little body of text”.
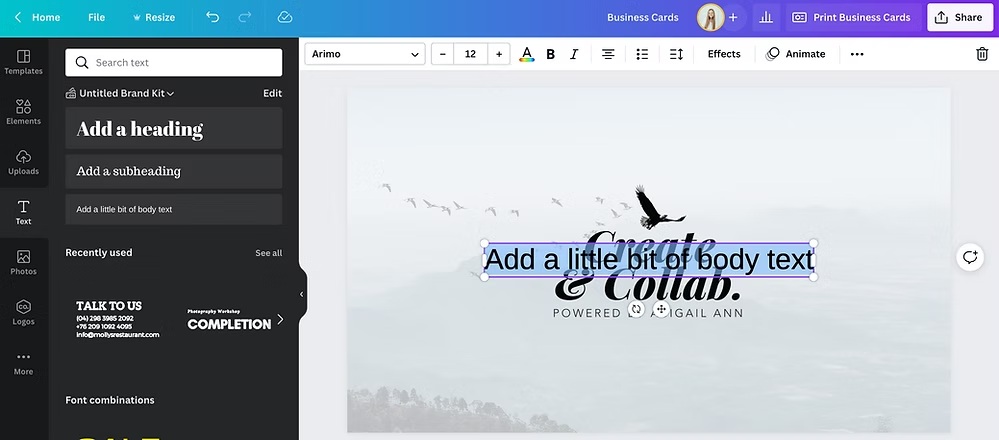
Swap out the wording, change the font to your branded font, change the size, and place it where it looks nice. Note: I made the text bold so it was easier to read. The text size is 6 on my end and came out legible once I had it printed.
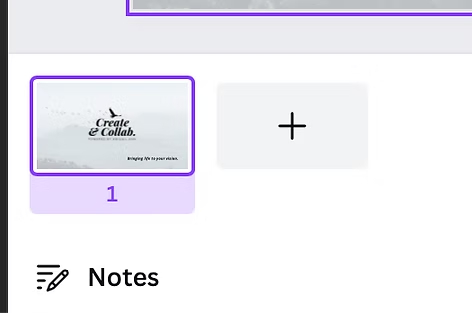
If you’ve made it this far, you’ve gotten a lot of great practice with Canva! Once you’re ready to design the back of your business card you’ll simply click the plus icon on the bottom so that you can start another file in the same template space:
This will open another blank space. Either choose a background photo or simply click the white space and change the background color. I went with a cream background for the back of mine so that the text is really the only focus. Here’s how it came out:
Step 4:
Download Your Files and Order
The type of file you download really depends on where you’re ordering them from. If you want to take it in to your local UPS store, they most likely will want a printable pdf. If you’re ordering them on Vista Print, you’ll want to download the files as PNG files. If you want to print with a local print company, they should be able to use a Printable PDF file as well.
To download your files you’re going to click the “Share” button on the top right.
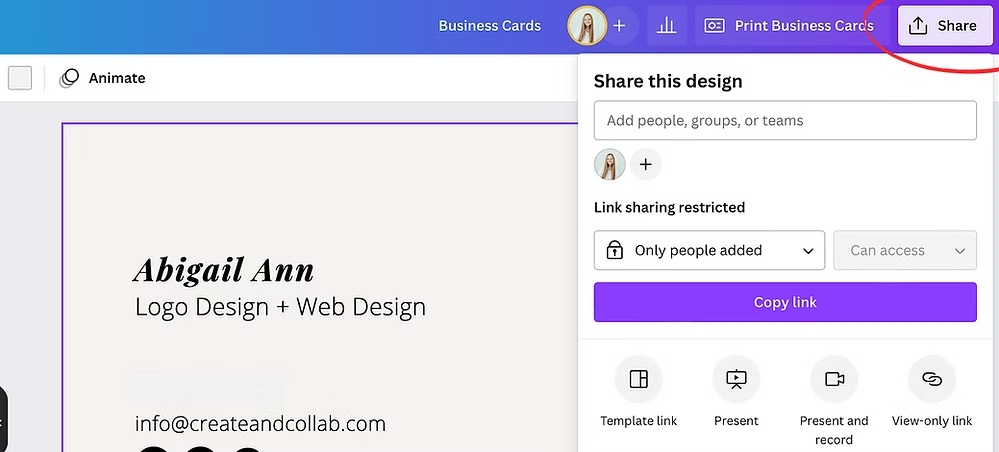
Then simply click the “Download” button. The default option is png, but if you need a different type of file, Click “PNG” and a list of other options, including the Print PDF version will come up.
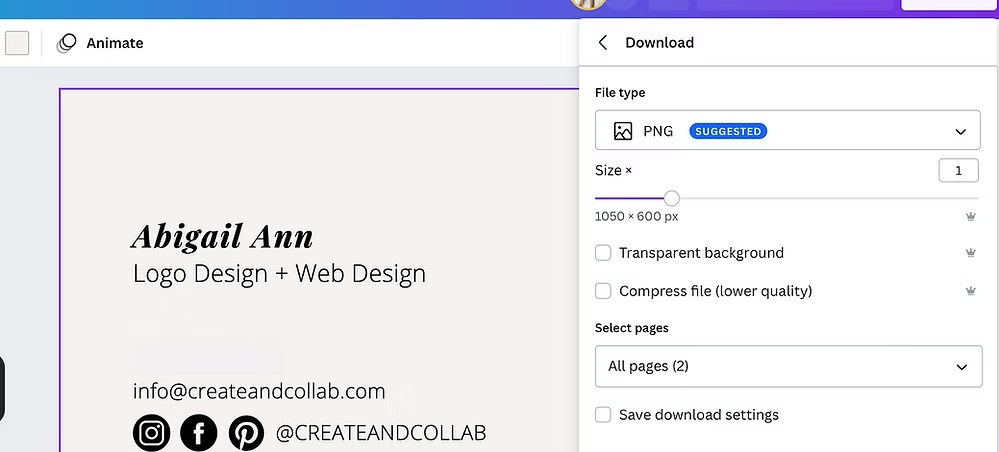
Once you’ve narrowed down the file type you need, simply click the purple “Download” button. BAM! Now you have business cards that you designed all by yourself. Not to mention that, if something changes and you want to tweak your business card, the file you worked on will always be stored in your Canva account!
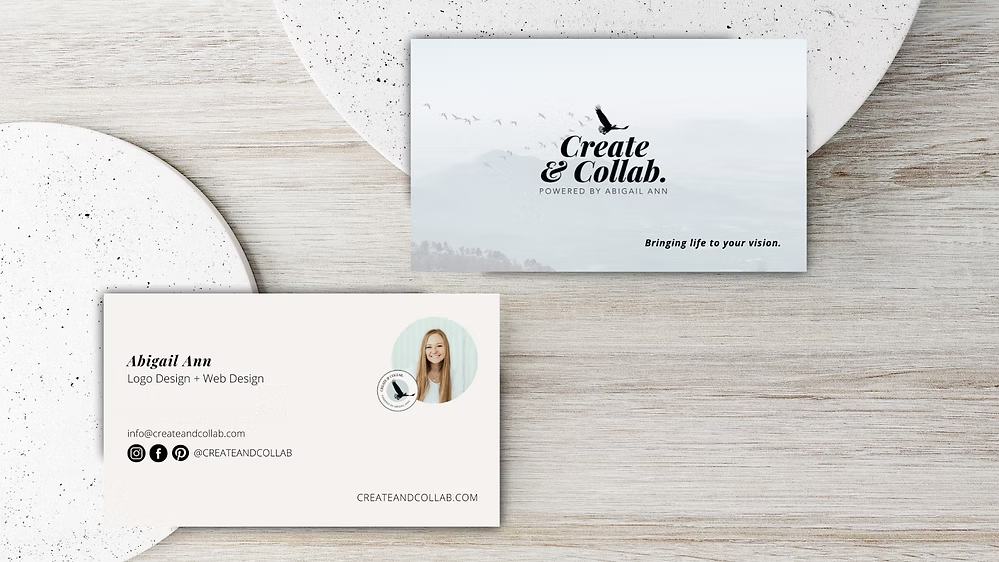
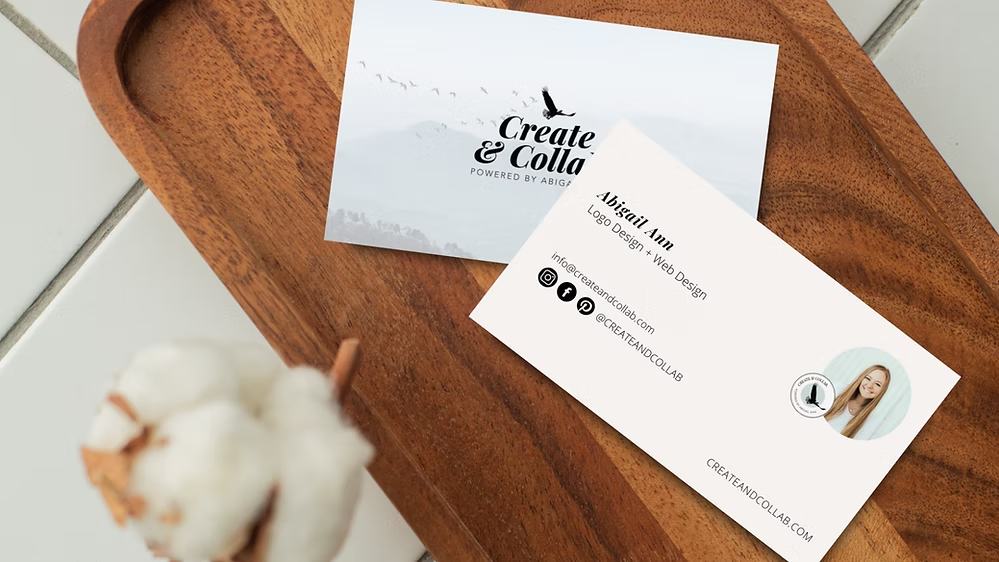
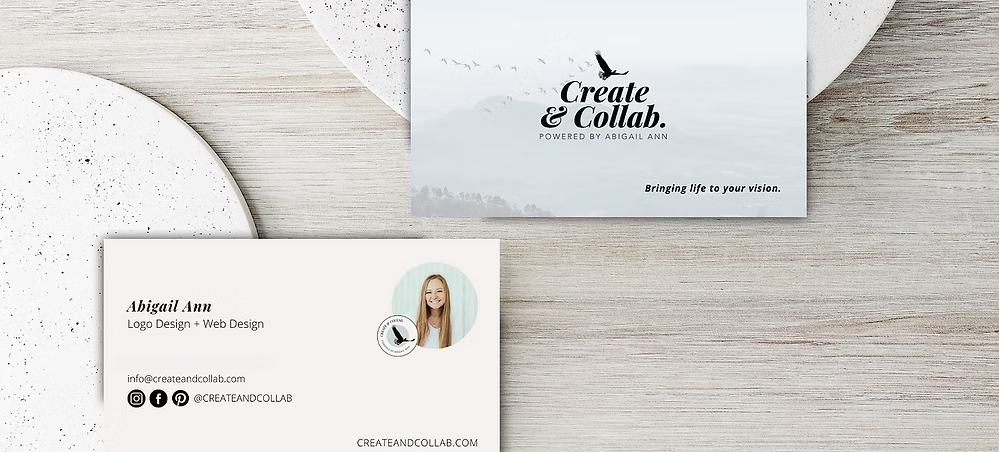
Here’s how mine turned out after printing! Honestly, I can already tell I wish I would have made my website bold… also my perfectionist brain, wished there was more of a border on the left. BUT, it does not have to be perfect. It’s okay to see places where improvement could be made. The important thing is to simply start, simply go for it, order a small amount and if you want to change it, know you always always can! Happy designing! -Abs 🙂
Related Posts:
How to Increase Brand Recognition
How to Find Your Target Audience
Creating a Peaceful Home Office Space
Disclosure: This post may contain affiliate links, meaning I get a commission if you decide to make a purchase through my links, at no cost to you.